
Seeds · Beginner friendly · 6 min
Basil: sow it, snip it, share it
Start with a small seed packet, grow a healthy herb, then pass on your first cutting.
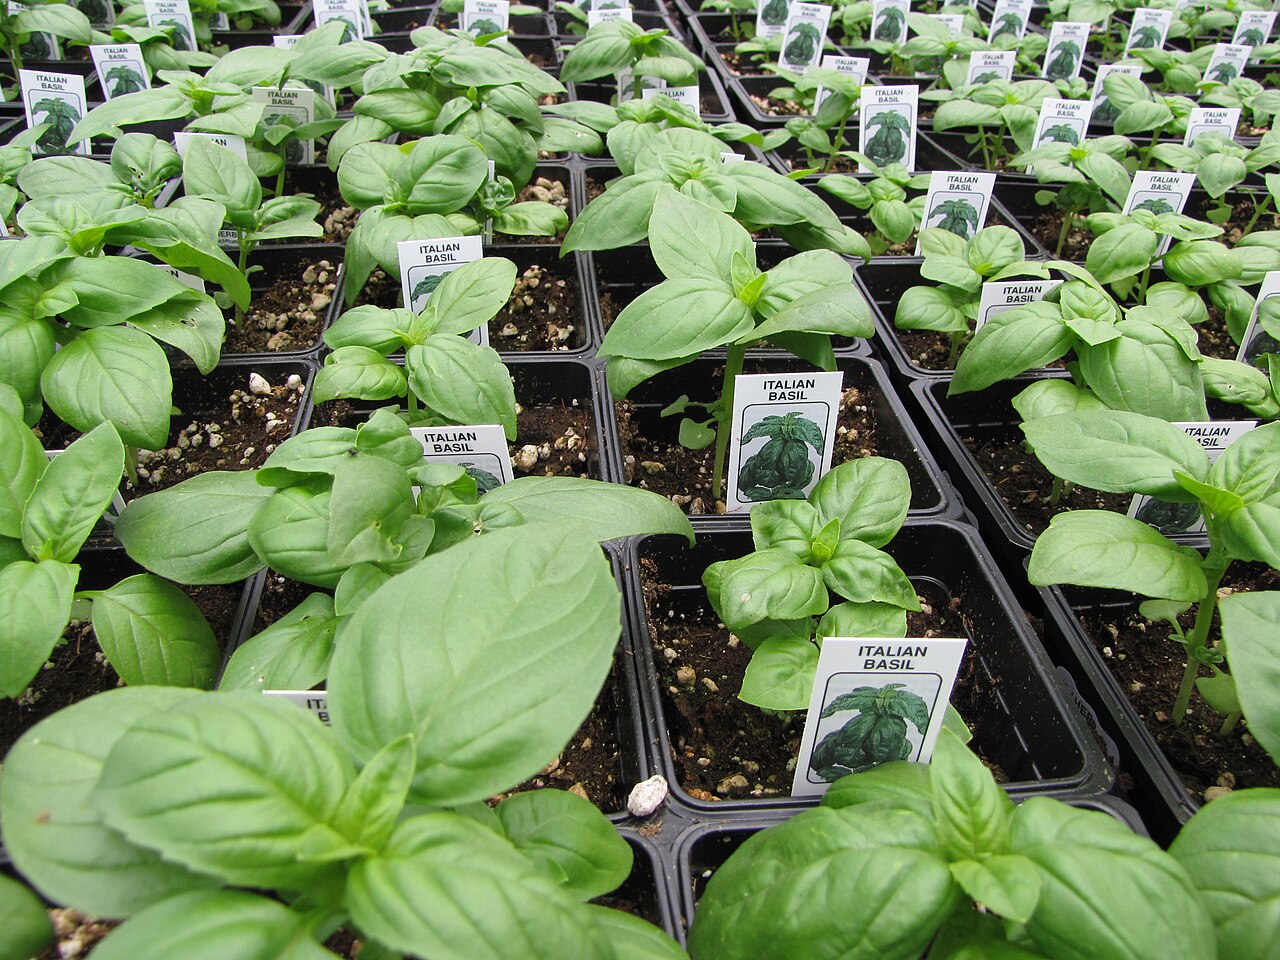
Reference photograph: Forest and Kim Starr · CC BY 3.0 US. Display may be cropped. Not the offered plant or packet.
Propagation reference: Royal Horticultural Society. Gulf seasonal context: Dubai Garden Centre. Adapt timing to your own city.
By Growhood · Updated
Watch the technique
Follow this article's GCC timing and care advice alongside the demonstration.
- Basil cuttings, from stem to rooted plantBy Epic Gardening on YouTube
Video notes
Shows where to take cuttings and compares rooting methods. This accompanies the cuttings part of the article, not its seed-sowing instructions. Rooting success and speed will vary.
Links only, with no embedded player or autoplay. Video link checked .
Opens YouTube in a new tab.
Growing instructions
- 01
Choose a suitable growing window
Basil needs warmth and plenty of light, but tiny seedlings struggle in extreme heat. In many lowland Gulf locations, start during the milder growing season rather than on an exposed midsummer balcony. Check your city's conditions: coastal humidity, inland cold nights and highland temperatures differ. Indoors, use a very bright window or suitable grow light, away from direct AC airflow.
- 02
Sow a few seeds, not the whole packet
Fill a draining pot with lightly moistened seed-starting mix. Sow a few seeds about 3–5 mm deep, unless the packet gives different instructions. Label the species and sowing date. Keep spare seeds cool and dry for sharing, and record the harvest year only if known. Planting seed, particularly treated seed, is not for eating.
- 03
Give seedlings light and steady moisture
Keep the surface lightly moist, not waterlogged. Germination often takes about 5–14 days in suitable warmth, but older seed or unsuitable temperatures can change the result. Once shoots appear, provide bright light and ventilation. Never let a covered tray or propagation jar bake behind hot glass.
- 04
Pot on and help the plant branch
When seedlings have true leaves and can be handled, separate the strongest into their own pots without crushing the stems. Acclimate gradually to gentle outdoor sun. As plants become established, pinch growing tips above a pair of leaves to encourage branching, leaving plenty of foliage on the plant.
- 05
Turn a healthy stem into another plant
From a healthy, non-flowering plant, snip an 8–12 cm stem just below a leaf joint. Remove the lower leaves and place the bare lower stem in clean water, keeping leaves above the waterline. Keep in bright filtered light and refresh the water every few days. Roots often appear within 1–3 weeks; discard stems that turn soft or foul-smelling.
- 06
Establish it, then share
Pot the cutting into a small draining container once it has several roots a few centimetres long. Keep the mix lightly moist while it adjusts, then wait for steady new growth before offering it. Label the species, propagation date, growing space and any treatments. For seed gifts, list packets and seeds per packet separately; do not guarantee untested germination.